This page explains, how to import, export and remove film rolls and pictures in Darktable. It also explains, what Darktable actually does, when you import, export and remove your film rolls.
What is Darktable?
Darktable is a free and open source picture editor, but it is really a virtual lighttable and darkroom for photographers, where you can develop your raw digital unedited pictures into exposed, sharp and colorful pictures.
You could say, that Darktable is an alternative to editors like Gimp and PhotoShop, but Darktable is probably better described as an editor, that you would use before making final adjustments in those editors. The reason is, that Darktable can load the more data rich raw picture format and automatically apply its advanced correction modules to the editing proces. An example of such a module is the lens correction module, that fix known distortions in the lens, that you used to shoot the pictures with. You can then make your own specialized corrections as necessary.
How does Darktable organize pictures?
Darktable organize your pictures in groups, which it refers to as film rolls. These film rolls are usually named after the date of shooting and a title, that is given by you during import. Darktable maintains its list of film rolls in collections. This list is stored in an internal database, which associates each film roll with a directory on your disk storage.
You can think of film rolls as the set of pictures, that you are currently working on. They will exist in Darktable as long as you are working on them. When you have finished your work, then you will export and store the result elsewhere. You can then delete the film roll from Darktable and delete the large raw files fom your disk storage.
Where does Darktable store pictures?
When you import pictures, then you decide, if Darktable should register the new pictures in a film roll with its existing directory, or, if Darktable should create a new directory and copy the new pictures to that. The first option is add to library and the last option is copy & import.
I recommend, that you manage the directories on your disk yourself, which means, that you will create a new directory on your disk, copy the pictures of interest to that directory and then use the add to library feature of import. This way, you will be in control of, where your raw unedited pictures are stored, how to perform backups of them and how to permanently delete them.
Configure Darktable.
I recommend, that you copy your pictures into a Darktable work directory, where Darktable can import them from, work on them and export to. This makes it possible for you to control, which pictures, you are currently editing in Darktable. You avoid accidental changes to pictures outside of this directory. You will also be able to backup these pictures, because they are in this directory. When you are done with editing, you can safely remove them from the list of film rolls in Darktable and then delete them from the directory. I recommend, that you set user-only permissions.
$ mkdir -m 0700 darktable
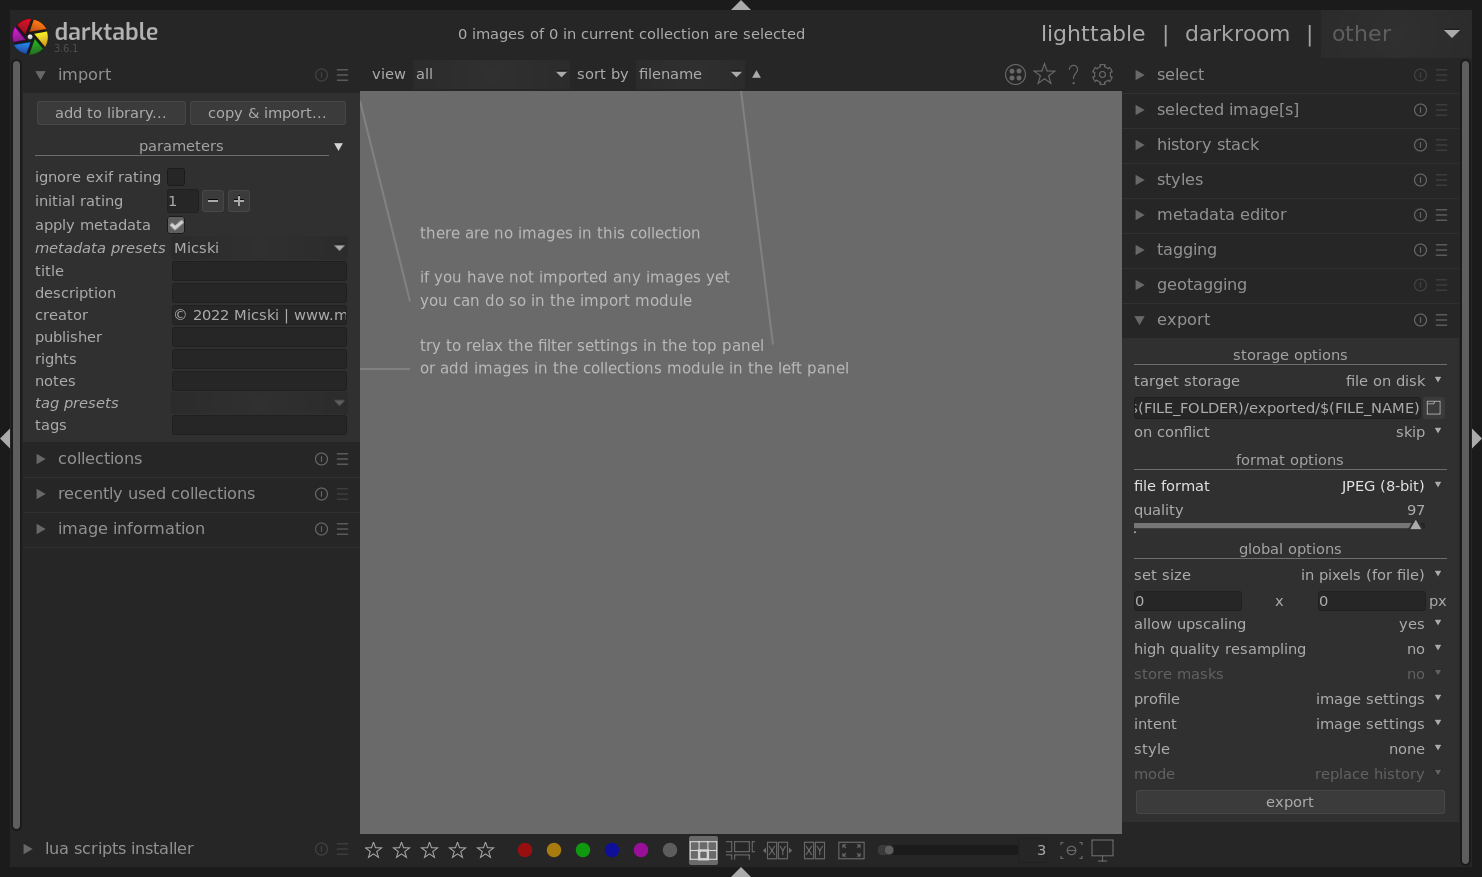
Open global preferences. Go to import. Enable keep original filename. Close global preferences. Open metadata editor. Set creator. I prefer something like © 2022 Micski | www.micski.dk. Click the menu and select store new preset. Open export. Set target storage to file on disk. I prefer something like the following, which uses the path of the picture as a base reference.
$(FILE_FOLDER)/exported/$(FILE_NAME)
Import pictures into Darktable.
Create a new directory for your pictures. This will be registered by Darktable as the directory for your film roll.
$ mkdir darktable/2021-08-23-portrait-photo-shoot
If your pictures are stored on a SD storage, then mount it to your computer. Copy the raw pictures to the new Darktable film roll directory.
$ cp /mnt/DCIM/*.CR2 darktable/2021-08-23-portrait-photo-shoot
$ ls darktable/2021-08-23-portrait-photo-shoot/
IMG000.CR2	IMG001.CR2	IMG002.CR2
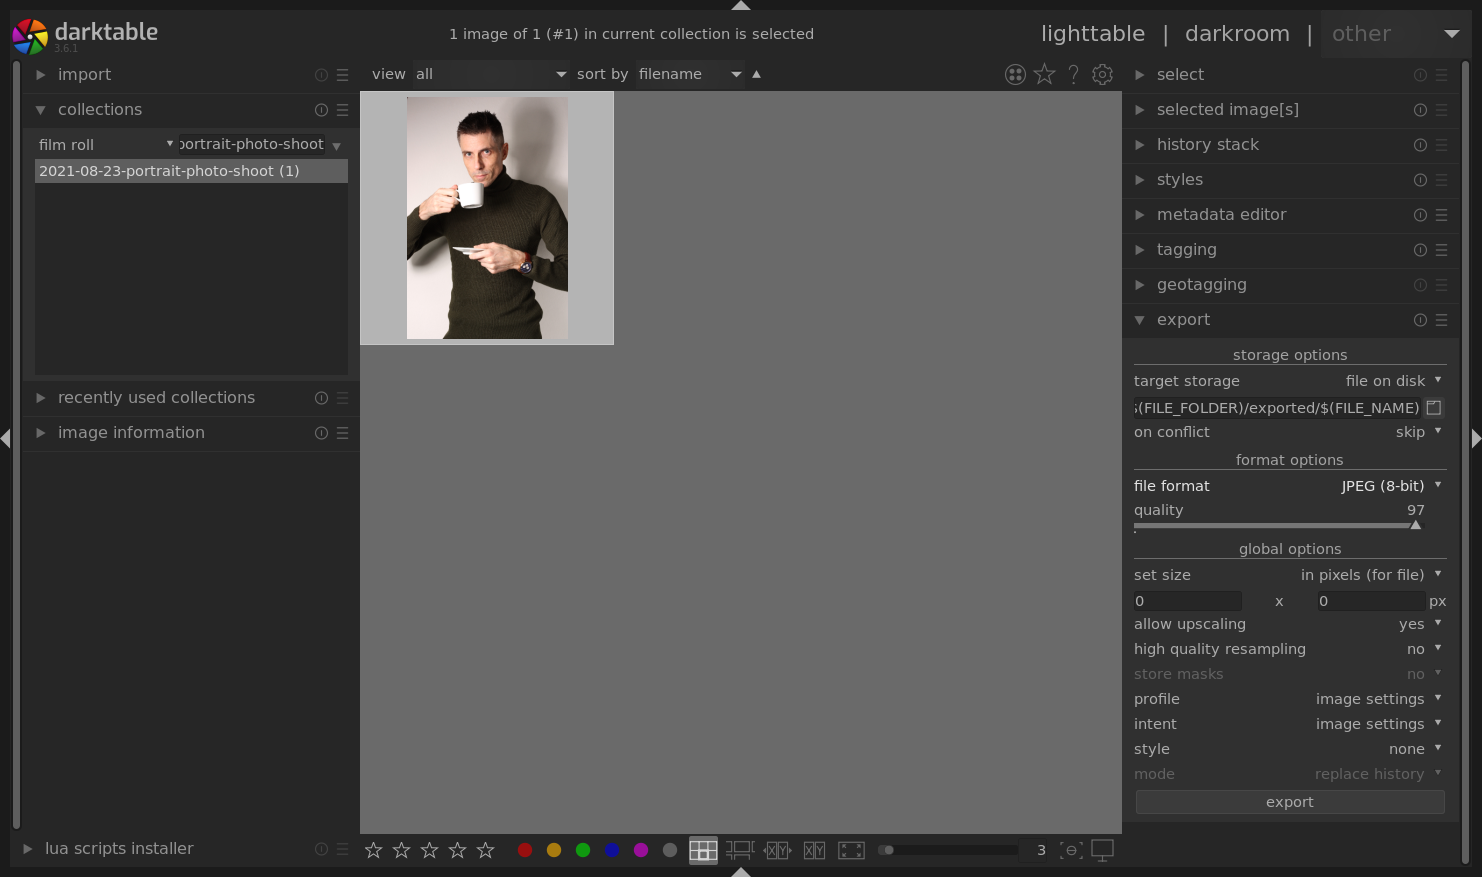
Open import. Open parameters. Enable apply metadata. Select your preset from metadata presets or enter your metadata manually. Select add to library. Go to folders and navigate to your film roll directory in your Darktable directory. Darktable should select all pictures automatically. Click add to library.
If you list the contents of the film roll directory now, then you will notice, that Darktable has created an .xmp file for each picture. This file contains the changes, that Darktable and you have made to the original picture, but without actually altering the original raw picture.
$ ls darktable/2021-08-23-portrait-photo-shoot/
IMG000.CR2	IMG001.CR2	IMG002.CR2
IMG000.CR2.xmp	IMG001.CR2.xmp	IMG002.CR2.xmp
Go to darkroom and edit your pictures.
You can now work on your film roll and its raw pictures. You do this by taking them from the lighttable into the darkroom, where you will find technical, grading and effects modules, that you can use to develop your pictures.

Export pictures from Darktable to JPG pictures on disk storage.
When you edited one or more of your raw pictures, you can export them. Go to export. Select export. Darktable will now export your pictures into a the export subdirectory of your film roll directory.
$ ls darktable/2021-08-23-portrait-photo-shoot/exported
IMG000.jpg	IMG001.jpg	IMG002.jpg
The exported pictures will be in high resolution JPG format and can now be renamed, scaled, watermarked and processed by your batch script as necessary for targeting your specific applications and archiving.
$ mkdir -m 0700 archive/2021-08-23-portrait-photo-shoot
$ cd archive/2021-08-23-portrait-photo-shoot
$ mv darktable/2021-08-23-portrait-photo-shoot/exported/IMG000.jpg cup-of-coffee.jpg
$ image-magick-script-for-website *.jpg
Deleting film rolls and pictures from Darktable.
When you have finished editing your raw pictures, and exported the final pictures, you can delete the film roll and the original pictures from Darktable. Open collections. Right click the film roll and select remove. Darktable will ask, if you really want to remove the pictures, but without removing from the disk. For some reason, Darktable does not have an option, that deletes the original pictures. Answer Yes. The film roll will now disappear from the list of film rolls.
The film roll directory, and the original raw pictures in it, still remains in your Darktable directory. You can delete them manually as they will no longer be needed.
$ rm -rf darktable/2021-08-23-portrait-photo-shoot
More about Darktable and photography.
The official website of Darktable. How to add a transparent copyright notice to a batch of pictures with ImageMagick by myself. How to mount FAT32 formatted SD memory card on FreeBSD by myself. How to mount exFAT formatted SD memory card on FreeBSD by myself.