This is the procedure for applying a great-looking, readable and legally correct copyright notice on a batch of pictures with ImageMagick and its composite operator of convert.
Create a transparent copyright notice in Gimp.
I will use the free and open source Gimp graphics editor for this example, but you can user other graphics editors, such as PhotoShop.
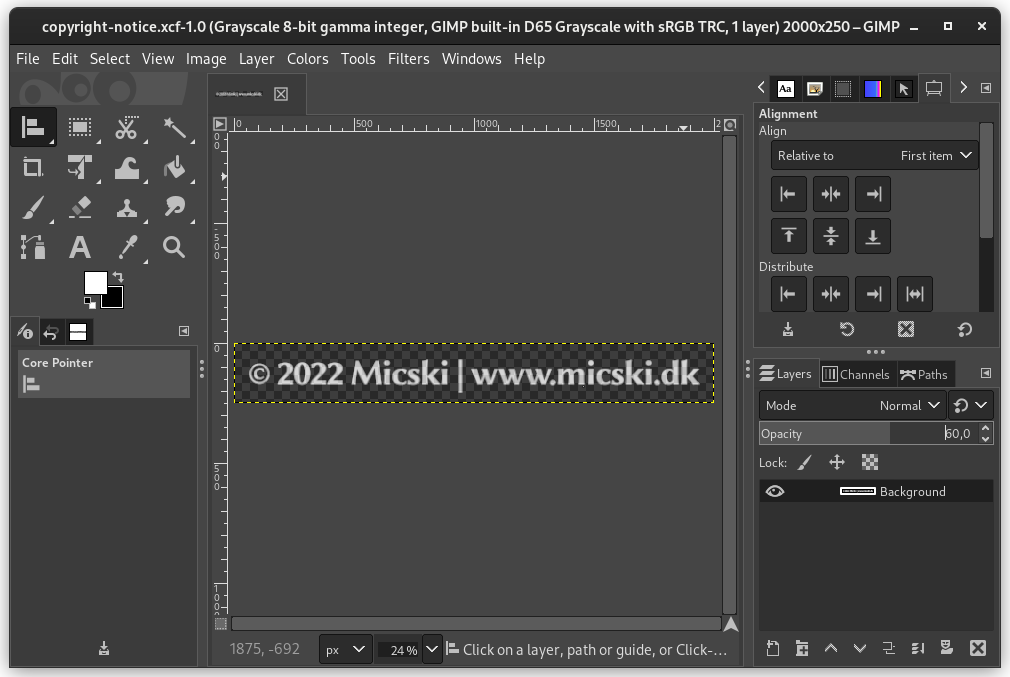
Make sure, that foreground color is set to white and background coler is set to black. Create a new blank image by pressing Ctrl+N. The dialog Create a New Image appears. Set Width and Height. In this example, I will use 2000 and 250. The size can be any size as long as it can be scaled down to different target sizes later. Open Advanced Options. Set Color space to Grayscale. Set Fill with to Transparency. Set Comment as necessary. Click OK. You will now see a black image to work on.
Open the text tool by pressing T. Set Font, Size and Adjust letter spacing as necessary. I will use Linux Biolinum G Bold, 145 and -5,0 for this example.
Click the left side of the image and type your copyright notice. For legal reasons, the copyright notice should consist of the circular copyright symbol, year of creation and name of the copyrights owner. I will use © 2022 Micski | www.micski.dk for this example. When finished, close the text toolbox by pressing Esc.
Center the copyright notice by pressing Q. This will open the Alignment toolbox. Click the copyright notice, so it gets selected. Click Align center of target and Align middle of target. The copyright notice is now aligned in the center of the image.
Go to Layers toolbox. Right click the top layer and click Merge down. Set Opacity. I this example, I will go for 60%. That will make the copyright notice visible on bright and dark areas, while not dominating the picture itself.
If necessary, then you can crop at this time by pressing Shift+C.
Save the copyright notice by pressing Ctrl+S. This will be your master copyright notice, that can be scaled different sizes and formats. I will name it copyright-notice.xcf, so it is easy to find again and the transparent target files will be named copyright-notice.png.
Go to Image and select Scale Image. Determine the size of the target pictures and the size of your copyright notice in relation to that. Set Width and click Scale. In this example, my target size will be pictures, that have a width of 1280 pixels. I would like the copyright notice to have a width, that is 33% of that, so I will scale my copyright notice to a width of 426 pixels and have Gimp calculate the scaled height.
Go to File and select Export. Click Export. The transparent copyright notice will now be saved in PNG format.
You have now created a great-looking, readable and legally correct copyright notice, that can be applyed to your pictures by ImageMagick.
How to apply copyright notice to batch of pictures with ImageMagick.
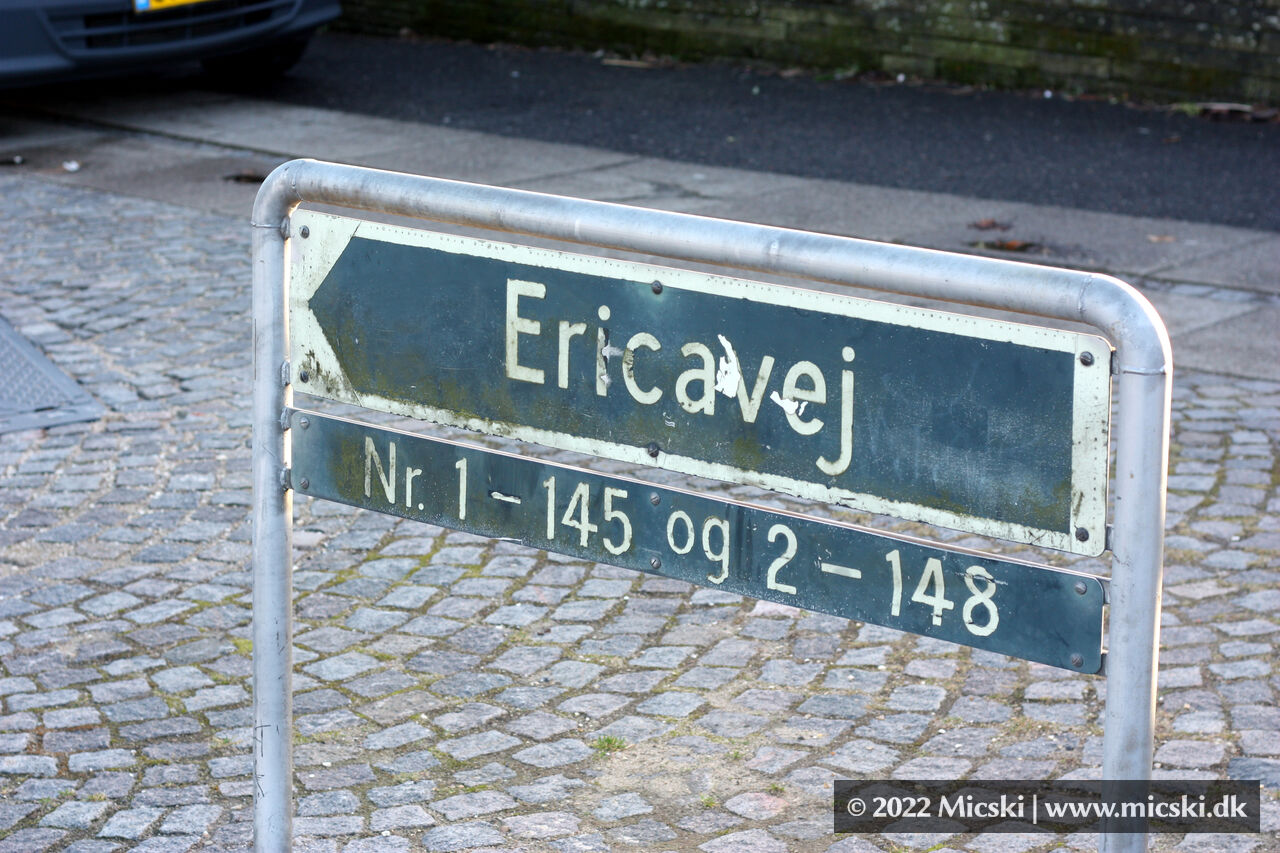
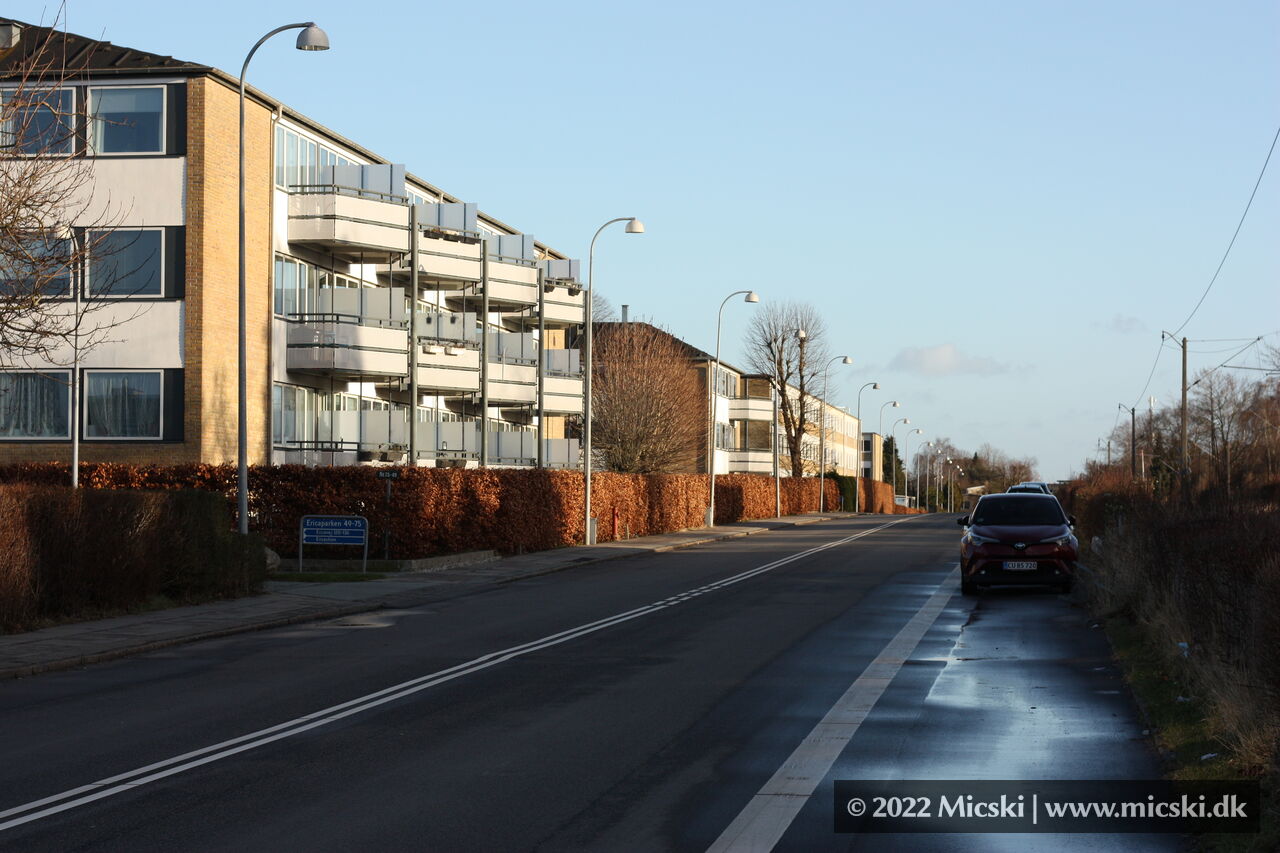
The following is an example of how the composite operator of convert in ImageMagick is used to open a picture, resize it to a width of 1280 and then add the transparent copyright notice.
$ magick convert bright.jpg \
  -resize 1280x1280 copyright-notice.png \
  -gravity southeast -geometry +20+20 \
  -composite website/bright.jpg
How to write a script, that adds a transparent copyright notice to a batch of pictures with ImageMagick.
The following script will proces a batch of pictures with ImageMagick. You can modify it as necessary.
- Create the directory website, which will store the target picture, that has been resized and have a transparent copyright notice added.
- Read one picture at a time. Resize each, add the transparent copyright notice, set quality 80 and write the target picture in the directory website.
#!/usr/local/bin/bash
mkdir -m 700 website
ls *.jpg | cat -n | \
  while read n p; do \
    magick convert $p \
    -resize 1280x1280 copyright-notice.png \
    -gravity southeast -geometry +20+20 \
    -composite -quality 80 \
    website/$p
  done
More about ImageMagick.
ImageMagick v6 Examples – Multi-Image Layers by ImageMagick.